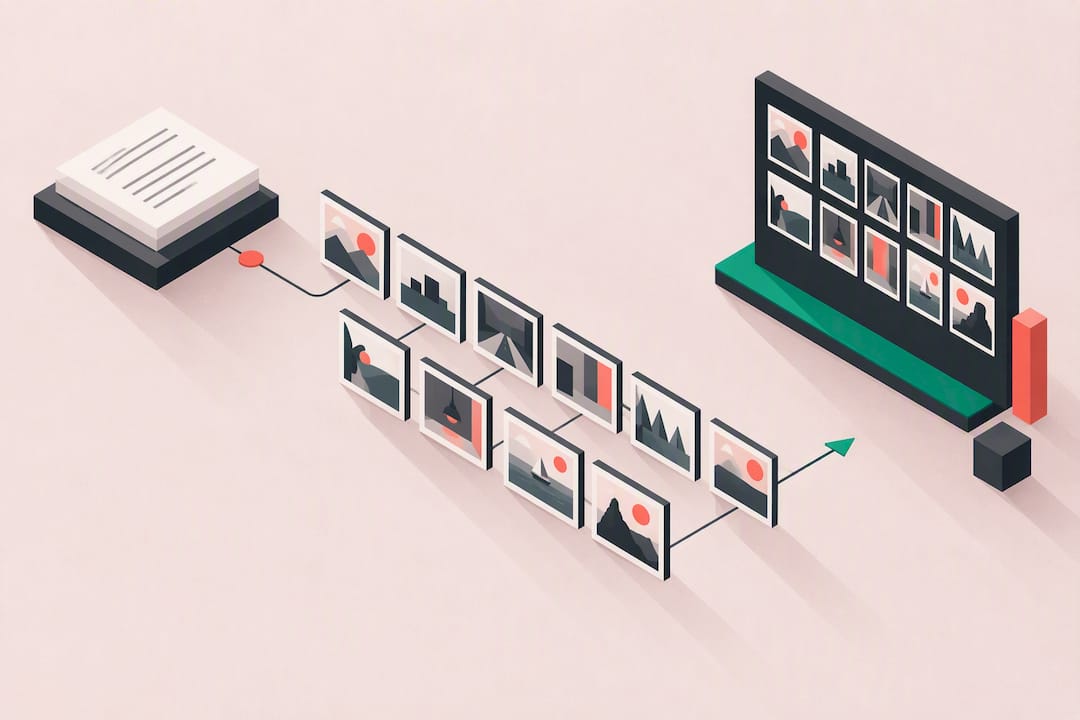
A scene outline template for faceless YouTube videos is a two-field scene row: shot (what the camera or generator shows) and narration (what the voice says). The rule that makes it work is a hard word cap per scene, calculated from your target clip length at 2 to 3 words per second. Get that cap right and every scene arrives editor-ready, your runtime is predictable before you generate a single clip, and your AI voiceover never runs past the visual.
TL;DR:
- Fix the scene count and use precise word caps based on clip length to ensure scripts stay within the planned runtime and pacing.
- Use specific shot prompts combining subject, setting, and motion, avoiding vague descriptions that hinder generation quality.
- Keep narration lines short and simple, sticking to 2 to 3 words per second estimated timing to prevent overrun or spillover into the next scene.
- Automate scene creation with templates by separating immutable channel rules from scene-specific prompts to maintain consistency across videos.
- Ensure each scene has a clear purpose, correctly timed narration, and appropriate visual cues, refining the outline through targeted regeneration of failed scenes.
What Should a Scene Outline Template Include?
A reusable template needs a handful of fields, no more. Add too many columns and creators stop filling them in consistently, which defeats the point of a numbered set of scenes you can hand to a generator or an editor without translation.
Here’s what belongs in every row:
- Scene number and label: A short tag (“Hook,” “Proof #2,” “CTA”) so you can find a scene fast in a long script.
- Shot: A camera-style prompt describing subject, setting, motion, and light. This is what you feed to an image or video generator.
- Narration: The voice line, capped at your per-scene word limit.
- Clip length target: The seconds this scene should occupy in the final edit.
- Overlay note: Any on-screen text, stat callout, or caption emphasis.
- B-roll keywords: Search terms for stock footage or generated cutaways.
- Editor note: Anything a human editor needs to know that isn’t obvious from the shot line.
A sample row looks like this: Scene 4, “Proof,” Shot: “Close-up of a hand scrolling a phone, warm indoor light, slow push-in,” Narration: “Most creators lose viewers in the first eight seconds. That’s not an accident.” (14 words), Clip length: 6 seconds, Overlay: “8 seconds,” B-roll: “phone scrolling, analytics dashboard.” Voclify’s scene tools use this same shape because it maps directly to generation prompts rather than prose you’d have to rewrite later.
How Do You Turn a Video Idea Into a Scene Outline?
The workflow runs in five compact steps, and the order matters more than most creators assume.
- Write a one-line brief. This is your user prompt: topic plus angle, nothing more. “Why most productivity apps fail after 3 weeks” is enough.
- Lock the format and scene count before generating anything. Fixing the scene count upfront controls runtime and keeps generation costs predictable instead of ballooning across revisions.
- Calculate your word cap. Multiply your target seconds per scene by 2 to 3 words per second. A 10-second scene gets roughly 20 to 30 words, no more.
- Ask the language model for a numbered scene list in the two-field shape. Shot, then narration, scene by scene, with your word cap enforced in the request itself.
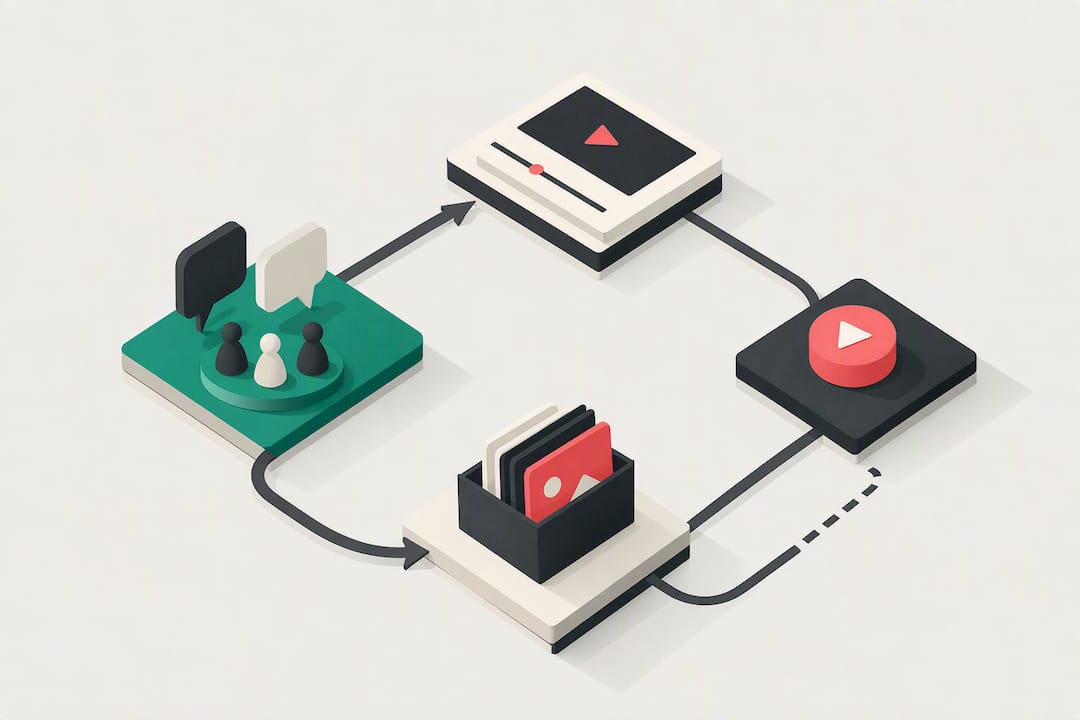
- Generate, voice, stitch, caption, and QA. Treat each scene as an independent clip so a bad generation doesn’t force a full rerun.
Pro Tip: Never let a language model guess your scene count on its own. State it explicitly (“exactly 7 scenes: 1 hook, 5 body, 1 close”) or you’ll get uneven episodes that break your runtime math every single time.
Which Scene Structure Fits Your Video Format?
Three presets cover most faceless channels, and each one changes how you distribute your word cap across the scene list.
- Explainer: Hook, then 3 to 5 body scenes, then a close. Give the hook roughly half the word cap of a body scene. It should hit fast, not explain anything yet.
- Countdown: Hook, then one scene per item, then a close. Vary sentence patterns across items or the whole list starts sounding like a template read aloud.
- Story: Hook, then event beats, then a close. Keep individual scenes shorter than explainer scenes and add scene count instead of stretching narration per scene.
For short-form (30 to 90 seconds), aim for 5 to 8 scenes with caps around 15 to 25 words each. For long-form (5 to 8 minutes), plan 15 to 25 scenes with caps closer to 30 to 40 words, adjusted for pacing. A countdown video padded with 40-word scenes on every item will feel slow no matter how good the visuals are.
How Many Words Per Second Should Narration Run?
Two to three words per second is the working rule for narration paced at normal conversational speed, and it’s the single number that prevents the most common failure in AI-generated scripts: narration that keeps talking after the visual has already ended.
The math: A 10 second scene at 2.5 words per second gives you a cap of about 25 words. Go over that and your voiceover either gets rushed by the TTS engine or spills into the next scene’s clip.
A few rules keep this from breaking down mid-production:
- Write shots as camera instructions only. Subject, setting, motion, light. Skip mood adjectives and skip proper names the model might misspell or mishandle.
- Set your scene count before you generate, not after. Runtime math only works if the scene count is fixed first.
- Keep narration lines short and grammatically simple. Long subordinate clauses confuse text-to-speech timing more than short sentences do.
From Scene Rows to a Shot List Editors Can Actually Use
Your scene outline becomes an edit-ready shot list when you add a few production-specific columns on top of the shot and narration fields you already have.
A working shot list needs: scene number, shot type (A-roll or B-roll), framing, overlay text, asset source, and an editor note field for anything nonstandard.
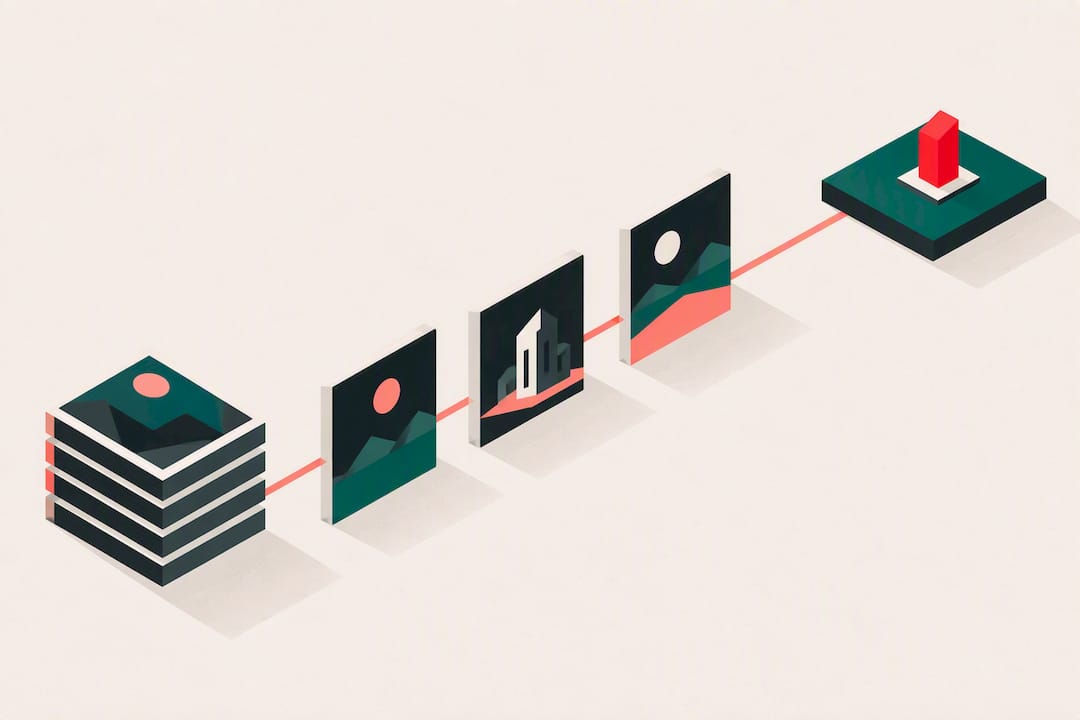
Storyboarding on top of that list catches problems the shot list alone won’t show. Check the hook frame, confirm the video delivers on whatever the hook promised, plan retention resets at regular intervals, and make sure the call-to-action shot is visually distinct from everything before it. Run a flat-stretch check too: any run of three or more A-roll scenes in a row needs a visual reset, whether that’s an overlay change or a B-roll cutaway. Note exact filenames or search terms for required screenshots so nobody hunts for assets mid-edit.
Can You Automate This With System and User Prompts?
Yes, and this is where a scene outline template stops being a document and becomes a pipeline. The trick is separating what never changes from what changes every single video.
Put your immutable rules, template shape, word caps, tone, register, in the system prompt. That’s your channel’s permanent configuration. The user prompt stays a one-line topic brief, nothing more. This split is what keeps a channel consistent across dozens of videos without rewriting instructions every time.
From there, the tool mapping is straightforward:
- Scene generation and image prompts route through Voclify’s AI Storyboard and Scene Image Generator.
- Narration lines route through the AI Voiceover Generator for TTS production.
- Both connect into Voclify’s broader workflow automation so scheduled generation replaces manual re-entry.
Pro Tip: Request scene lists as discrete, numbered prompts rather than one long paragraph. It’s easier to regenerate scene 4 alone when it fails than to rerun the entire batch.
Sample Scene Rows You Can Paste Into Your Template
Test your pipeline with five generic rows before building a full episode.
- Hook: Shot: “Extreme close-up on a cracked phone screen, harsh light.” Narration: “Your phone is lying to you about your battery.” (11 words)
- Explain beat: Shot: “Wide shot, hand holding two phones side by side.” Narration: “Batteries don’t die from age alone. They die from heat cycles most people never notice.” (14 words)
- Example beat: Shot: “Overhead shot, phone on a dashboard in sunlight.” Overlay: “Dashboard temp: 140°F.” Narration: “Leave your phone on a dashboard once, and you’ve aged the battery by months.” (13 words)
- Retention reset: Shot: “Quick cut to a graphic, bold text animation.” Narration: “Here’s the fix nobody talks about.” (6 words)
- Closing CTA (vertical/Shorts): Shot: “Front-facing, subject pointing at camera, tight framing.” Narration: “Follow for the fix, part two drops tomorrow.” (8 words, tightened for Shorts pacing)
Your Pre-Export Checklist
Run this before you burn captions and hit publish.
- Confirm every scene’s narration word count sits at or under its cap for that clip length.
- Recheck for flat stretches (3+ A-rolls in a row) and confirm the hook’s promise actually gets paid off.
- Verify overlay text sits inside the safe readable area and captions are timed to the voice, not the shot cut.
- If one scene fails generation, regenerate that scene only. Never rerun the full batch over one bad clip.
Common Mistakes That Wreck a Scene Outline Template
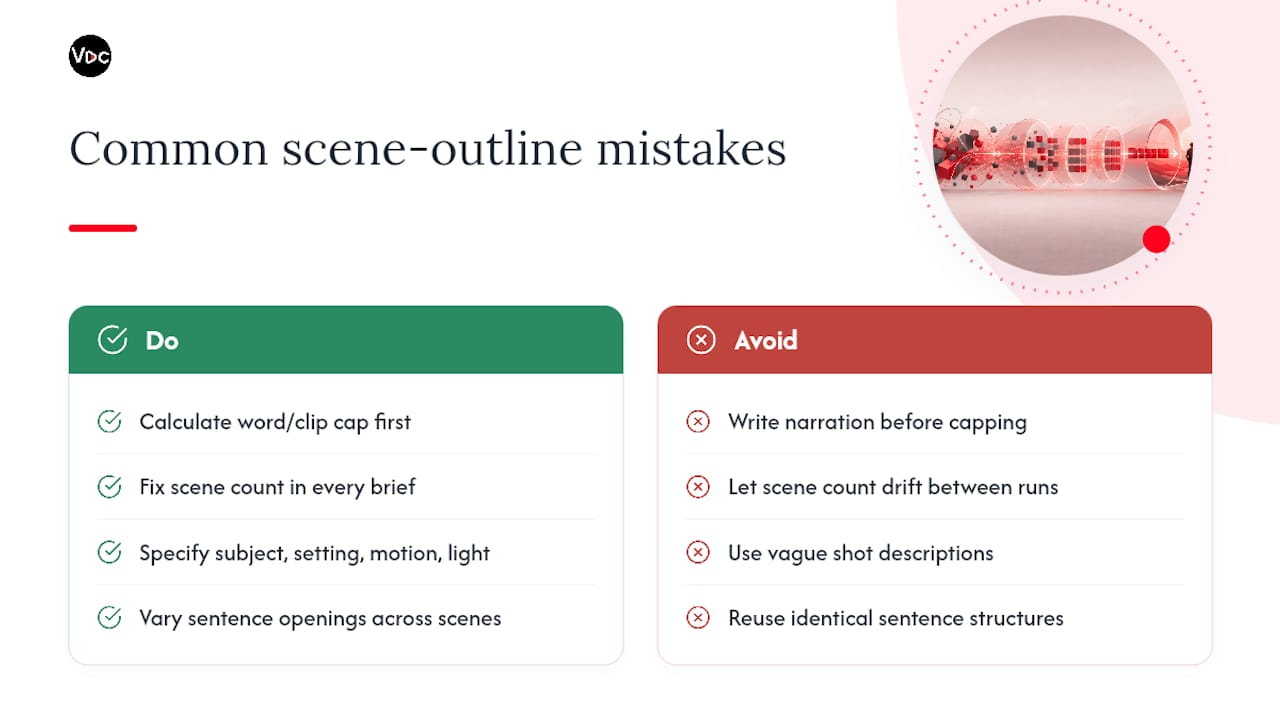
The most frequent failure is skipping the word cap entirely and writing narration first, then trying to force it into a clip length after the fact. That backward order is why so many AI-generated scripts run long. Calculate the cap before you write a single narration line, not after.
A second mistake is letting scene count drift during generation. A creator asks for “a short explainer” without pinning down a number, gets 9 scenes one run and 14 the next, and ends up with a runtime that changes every time they regenerate. Fix the count in your brief every single time.
Vague shots cause a third problem. “A person looking thoughtful” gives an image generator almost nothing to work with, and you’ll burn regenerations trying to fix a shot that was never specific enough to succeed. Subject, setting, motion, light, every time.
The fourth mistake is treating every scene like the last one. Countdown videos especially suffer when each item scene uses the identical sentence structure (“Number 3 is… because…”). Viewers notice the pattern by item four and swipe away. Vary your sentence openings across scenes, even when the underlying information is structurally similar.
Last, creators skip the storyboard step and rely on the shot list alone. The shot list confirms every scene exists. It doesn’t confirm the video actually pays off its hook or avoids flat visual stretches. You need both checks, not one.
How Scene Outlines Fit Into Your Scriptwriting Workflow
A scene outline template isn’t a replacement for scriptwriting. It’s the structural layer scriptwriting produces once you stop treating scripts as prose and start treating them as production data.
The practical order runs: brief first, full scene outline second, then a scriptwriting pass that only touches the narration field, never the shot field. Writers who skip straight to prose end up with paragraphs that then need to be manually chopped into scene rows, which defeats the entire point of using a template in the first place. Write in scene rows from the start and the script and the shot list are the same document.
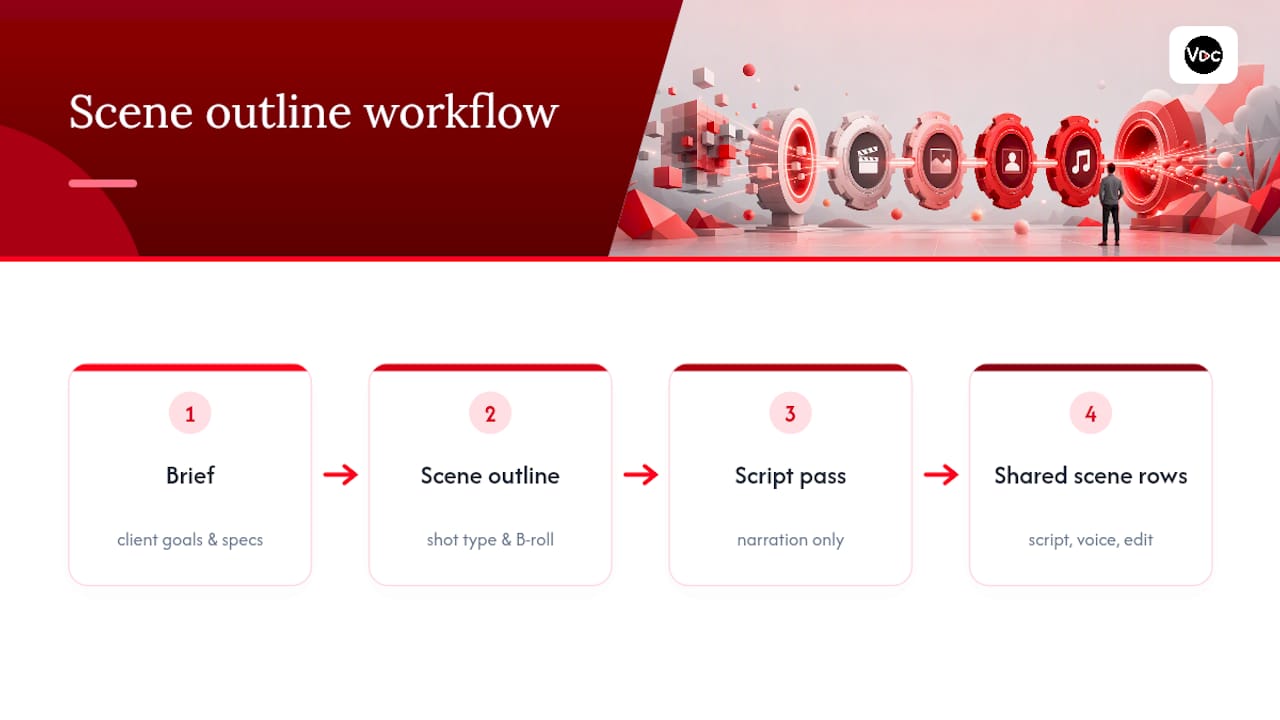
This also changes how you hand work to a team. A small agency running scripted videos for multiple clients needs the scene outline to double as the brief an editor receives. If your outline already has shot type, overlay notes, and B-roll keywords filled in, your editor never has to ping you asking what a line meant. That single document becomes the source of truth for scriptwriter, voice generation, and edit, which is exactly what keeps a multi-channel operation from drowning in back-and-forth on every episode.
Version control matters here too. Keep your template’s field structure identical across every video on a channel, even as the topic and angle change. A scriptwriter who reinvents the row structure per video breaks every downstream automation step that expects a consistent shape.
Why Templates Are Your Channel’s Real Source of Truth
Templates do the quiet work of keeping a channel’s voice consistent long after the tenth video stops feeling novel. Start with one format, explainer or countdown, and iterate only the angle field until you’ve proven the structure works. Keep your system prompt strict. The less rework you do per video, the more videos you actually ship.
— Arnas
Build Your Scene Templates Faster With Voclify
Voclify is built specifically for the workflow this guide just walked through, not adapted from a general video tool. The scene template you’ve been reading about maps directly onto Voclify’s toolset: the AI Storyboard and Scene Image Generator turns your shot fields into generated images without you rewriting prompts by hand, and the AI Voiceover Generator takes your word-capped narration straight to TTS.
Beyond scene generation, Voclify’s full toolset covers titles, thumbnails, and channel branding, so the same system-prompt discipline you set for scenes carries across your whole production pipeline. Plans run Starter at $20 per month, Growth at $50 per month, and Studio at $99 per month at Voclify. Creators who want hands-on setup support can look at the YouTube Faceless Operator Program instead of building the pipeline solo. Start with the scene studio on a free trial and run one video through the full template before committing to a plan.
Sources
- How to Write a Faceless YouTube Script with AI (2026)
- How to Split Narration Into Scene Blocks | Elysiate
FAQ
What Is a Scene Outline Template?
A scene outline template is a repeatable scene row format with two required fields: shot (the visual prompt) and narration (the word-capped voice line). It’s used to plan and generate faceless YouTube videos scene by scene rather than writing a full script as continuous prose.
How Many Words Should Each Scene’s Narration Have?
Calculate it from your clip length using 2 to 3 words per second as the working rate. A 10 second scene should cap out around 20 to 30 words to keep narration synced with the visual.
How Many Scenes Should a Faceless Video Have?
Short-form videos (30 to 90 seconds) typically run 5 to 8 scenes, while long-form videos (5 to 8 minutes) run 15 to 25 scenes. Fix the exact count before generating, since locking scene count keeps runtime and generation cost predictable.
Can Voclify Generate Scene Outlines Automatically?
Yes. Voclify’s AI Storyboard and Scene Image Generator and AI Voiceover Generator are built to take a scene outline’s shot and narration fields and generate the corresponding image and voice assets directly.
What’s the Difference Between a Shot List and a Storyboard?
A shot list confirms every scene exists with the production details an editor needs, like framing, overlay, and asset source. A storyboard checks flow and retention, confirming the hook pays off and no flat visual stretch runs too long.
Recommended

Get more of this in your Google results
Add voclify.io as a preferred source and Google shows you more of our articles in Search and AI Mode.