To convert a script to a production-ready storyboard fast, lock your scenes first, break them into beats, decide coverage before you draw anything, then generate rough panels with a script-linked tool or AI and annotate each one with camera, timing, and continuity notes. The output isn’t a gallery of pretty images. It’s a working document: panels, a shot list, an annotated PDF, and often a rough animatic your team can shoot from.
TL;DR:
- Lock your script and decide on shot coverage for each beat before generating visuals to ensure panels are useful for editing and shooting.
- Use annotations on rough panels, including camera movement, timing, and continuity notes, to make the storyboard a practical working document.
- Choose storyboard tools based on project scope, with script-linked or AI-assisted options suited for larger teams or speed-sensitive workflows.
- Ensure each panel contains key information such as scene reference, camera details, action, dialogue, timing, and continuity to prevent on-set errors.
- Run thorough quality checks for coverage, consistency, and timing before approving the storyboard to avoid costly mistakes during production.
What “Script to Storyboard” Actually Means
Turning a script into a storyboard means mapping each written beat to a visual panel that carries camera direction and timing, not just a picture of what happens. Adobe’s own guidance frames it the same way: start with the script, divide it into scenes, match scenes to images, then annotate every frame. That last step is the one people skip, and it’s the one that makes a board usable on set instead of just nice to look at.
A finished storyboard package usually includes:
- Rough panels showing framing and staging for each shot
- A shot list that breaks panels into camera type, angle, and order
- An annotated PDF combining images with production notes
- An animatic (panels timed to a rough voiceover or scratch audio track)
You don’t need all four for a 90-second YouTube video. A solo creator shooting b-roll over a script might get away with a shot list and a dozen rough thumbnails. A multi-location shoot with actors and a crew needs the full package, because that’s what keeps six people on the same page when nobody has time to re-explain the scene.
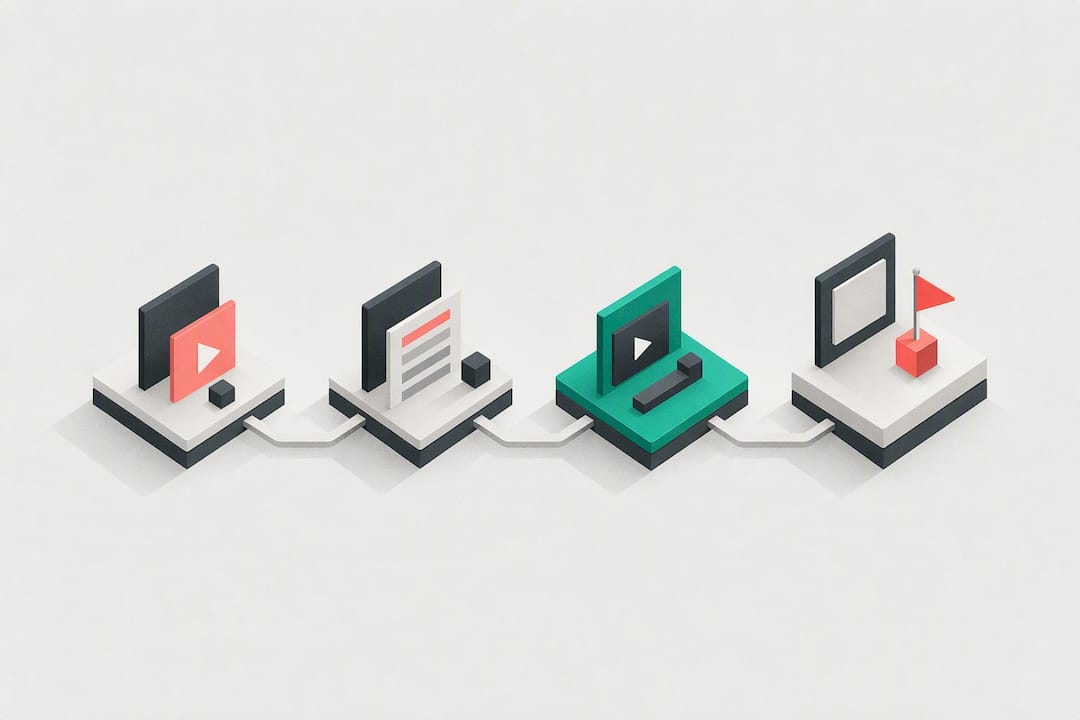
The Step-by-Step Workflow for Turning a Script Into Panels
This is the sequence StudioBinder’s production workflow and Adobe’s storyboard process both point to, adapted for anyone converting a script solo or with a small team.
- Lock the narrative and know your audience. Don’t storyboard a script that’s still changing scene by scene. If you’re using software, import the file now. FDX (Final Draft), Fountain, and PDF are the three formats most script-linked tools accept.
- Break the script into scenes, then beats. A scene might run two minutes of screen time but contain five distinct beats. Each beat is a unit of action or dialogue that needs its own visual treatment.
- Convert beats into shot intents before you draw anything. Decide which beats need an establishing shot, which need close subject coverage, which need inserts (a hand, a prop, a screen), which need a reaction shot, and where a transition happens. This is the coverage-first rule, and skipping it is the single biggest reason boards fall apart. StudioBinder’s guide on music video boards makes the same point: decide coverage before generating frames, or you end up with attractive panels that don’t actually cut together.
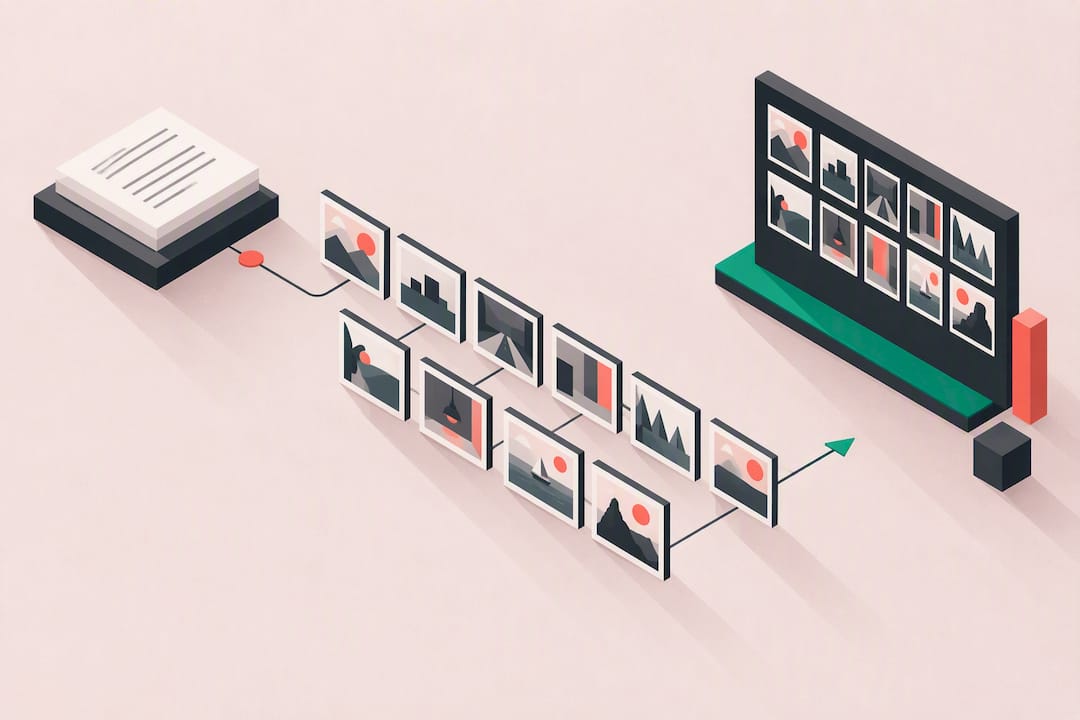
- Generate rough thumbnails. Sketch them by hand, pull them from a template, or use an AI tool to generate frames from your shot descriptions. Treat every image as a placeholder reference until the shot logic underneath it is approved. Artistic polish is not the goal here.
- Annotate every panel. Each frame needs a panel number, scene and shot ID, camera type and movement, action description, the dialogue or voiceover line playing, a rough timing estimate, and any continuity notes on props or wardrobe.
- Export and share. Pull a synced shot list, an annotated PDF, and, if the project needs it, a frame sequence for an animatic. Send it to your team and put a QC review on the calendar before anyone touches a camera.
Pro Tip: Give every panel an export tag or shot-list ID the moment you create it, not after. When a director note changes one beat, that tag lets you regenerate a single panel instead of renumbering the entire board.
Manual, Script-Linked, or AI: Picking the Right Method
The method you pick should follow the deliverable you actually need, not whichever tool is trending. StudioBinder’s breakdown of storyboard software options separates the field into three practical lanes:
- Templates and manual drawing work well for simple, short-form plans where you’re the only person who needs to read the board. Stick figures are fine.
- Script-linked production software earns its keep the moment more than one person touches the project. These tools sync scene numbers, panel notes, and exports directly to your script, so a rewrite doesn’t leave your storyboard pointing at the wrong scene.
- AI-assisted generation solves a different problem: speed. When you need to see ten variations of a shot before committing to one, AI gets you there in minutes instead of an afternoon of sketching.
Before picking a tool, check whether it imports FDX, Fountain, or PDF scripts directly, whether it supports version history when multiple people are editing, and what it exports (PDF, shot list, animatic frames all matter more than a pretty interface). AI tools are excellent for fast ideation across many shot options, but approve the shot logic first. Finalize images only after the sequence is locked, because Adobe Firefly’s storyboard tools and similar generators still need a director’s eye to turn raw output into a production-ready plan.
What Every Storyboard Panel Needs to Include
A panel is a production document, not an illustration. StudioBinder’s short film storyboard guide lists the questions a panel has to answer that the image alone can’t: what changed since the last shot, where the camera sits, what the subject is doing, which line of dialogue or voiceover plays, how long the beat runs, and what audio or transition bridges to the next panel.
At minimum, each panel needs:
- Panel number and scene/beat reference
- Thumbnail or reference image
- Camera type, angle, and movement (e.g., “medium, slight push in”)
- One-line action description (“she reaches for the phone, hesitates”)
- Dialogue or VO line tied to that exact frame
- Timing estimate in seconds
- Continuity notes on eyelines, props, or wardrobe
- Export tag linking the panel to its shot-list ID
Rough beats polished. Adobe’s storyboarding guidance is blunt about this: a crude panel that clearly communicates information and emotion is more useful on set than a polished image that doesn’t. If you can’t draw, pull location photos or reference stills instead of stalling the whole process waiting on art. A well-chosen stock frame or piece of b-roll can stand in for a sketch just fine.
Catching Mistakes Before You Ever Pick Up a Camera
Quality control on a storyboard is cheap. Fixing the same mistake on set, with a crew standing around, is not. Run every board through a short checklist before locking it:
- Does every beat in the script have a corresponding panel, or did something get skipped?
- Are eyelines and screen direction consistent from shot to shot?
- Do characters, props, and locations stay recognizable across the sequence?
- Does the timing on each panel roughly match the dialogue or voiceover length?
- Is the planned coverage actually shootable with your crew, cast, and locations?
StudioBinder’s program guidance for storyboarding flags the same failure points: missing coverage, inconsistent continuity, and transitions with no clear motivation. The most common trap is generating a batch of attractive panels before locking shot logic, then discovering half of them are redundant and none of them cut together into a usable sequence.
Pro Tip: Approve the shot list before you approve a single image. If the sequence works on paper, the visuals almost always follow. If it doesn’t work on paper, no amount of pretty AI output will fix it.
Structuring Storyboards So the Story Doesn’t Fall Apart
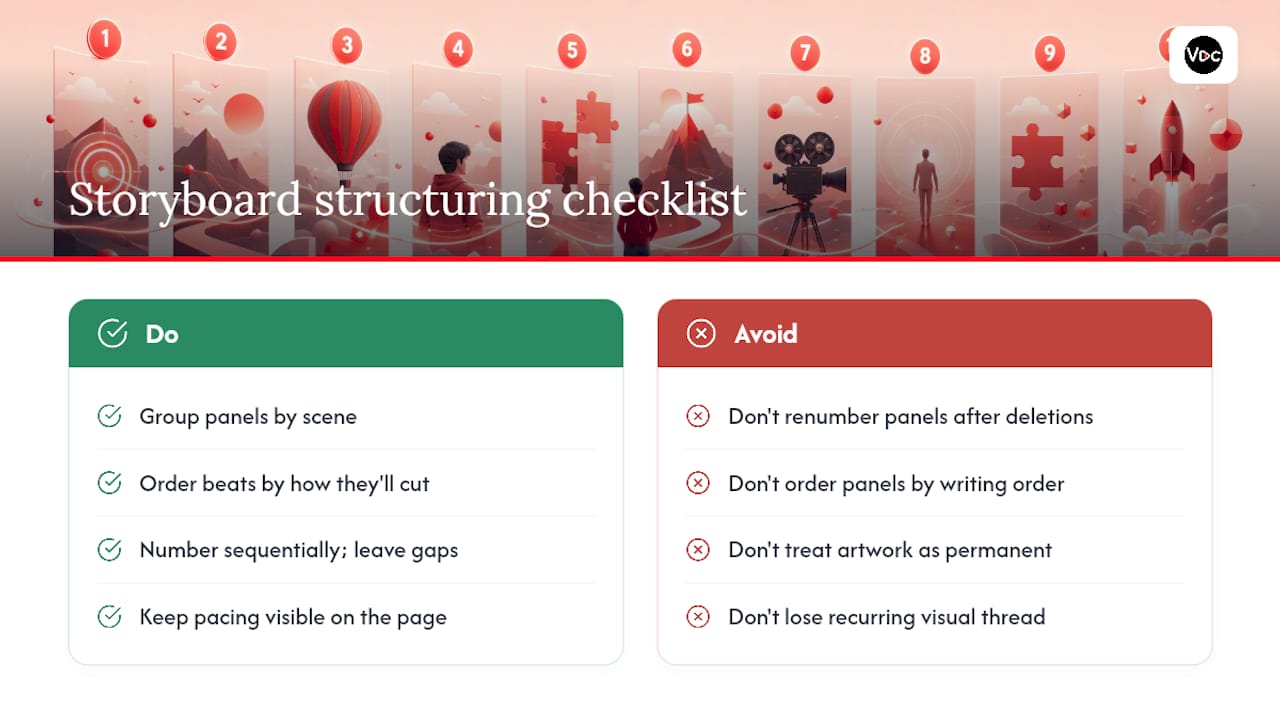
A storyboard that reads scene by scene in a straight line is easier to shoot, easier to hand off, and easier to fix. Group panels by scene, then order beats within each scene the way they’ll actually cut together, not the order they occurred to you while writing.
Number panels sequentially and never reuse a number, even after a cut. If scene 4, beat 2 gets deleted, leave a gap rather than renumbering everything downstream. That single habit saves hours when a director note lands the night before a shoot.
Keep pacing visible on the page. If three beats in a row are all medium shots of someone talking, that’s a flag to add a cutaway, an insert, or a reaction shot before you ever roll camera. A storyboard should let you feel the rhythm of a scene just by flipping through panels quickly, the same way an editor eyeballs a rough cut for pacing.
Separate the immutable story beats from the reference images sitting on top of them. Storyboarding fundamentals from the Los Angeles Film School recommend exactly this: label scenes and shots consistently, and treat the artwork as swappable. When direction changes, you regenerate the affected panels instead of rebuilding the whole board from scratch.
Finally, keep a visual thread running through recurring elements, whether that’s a location, a prop, or a channel’s branded intro sequence. Faceless creators especially benefit from this, since a consistent visual language across episodes does more for channel recognition than any single flashy shot.
Getting Writers, Artists, and Directors on the Same Page
Most storyboard breakdowns fail at the handoff between writer and visual team, not during the drawing itself. A writer knows what a scene means emotionally; a storyboard artist or director needs to know what it looks like on screen. Closing that gap starts with the script itself.
Write action lines with the camera in mind, even loosely. “She notices the note on the counter” gives a storyboard artist almost nothing to work with. “Close on the note, then she enters frame and picks it up” gives them a shot. Writers don’t need to direct every frame, but specificity in the script saves round trips later.
Once the board exists, run a single review pass with everyone in the room, or on a call, rather than collecting scattered notes over email. Streamlabs’ guidance on storyboarding YouTube scripts makes the point that storyboarding is where shot type, tone, and character relationships actually get decided, and generated boards especially need a director’s oversight to become production-ready rather than just a rough idea.
For solo creators wearing all three hats, build in a deliberate pause between generating panels and locking them. Step away for an hour, come back, and read the board cold. Distance catches continuity errors that get invisible when you’ve been staring at the same script for six hours straight.
Where Script-to-Storyboard Conversion Usually Breaks Down
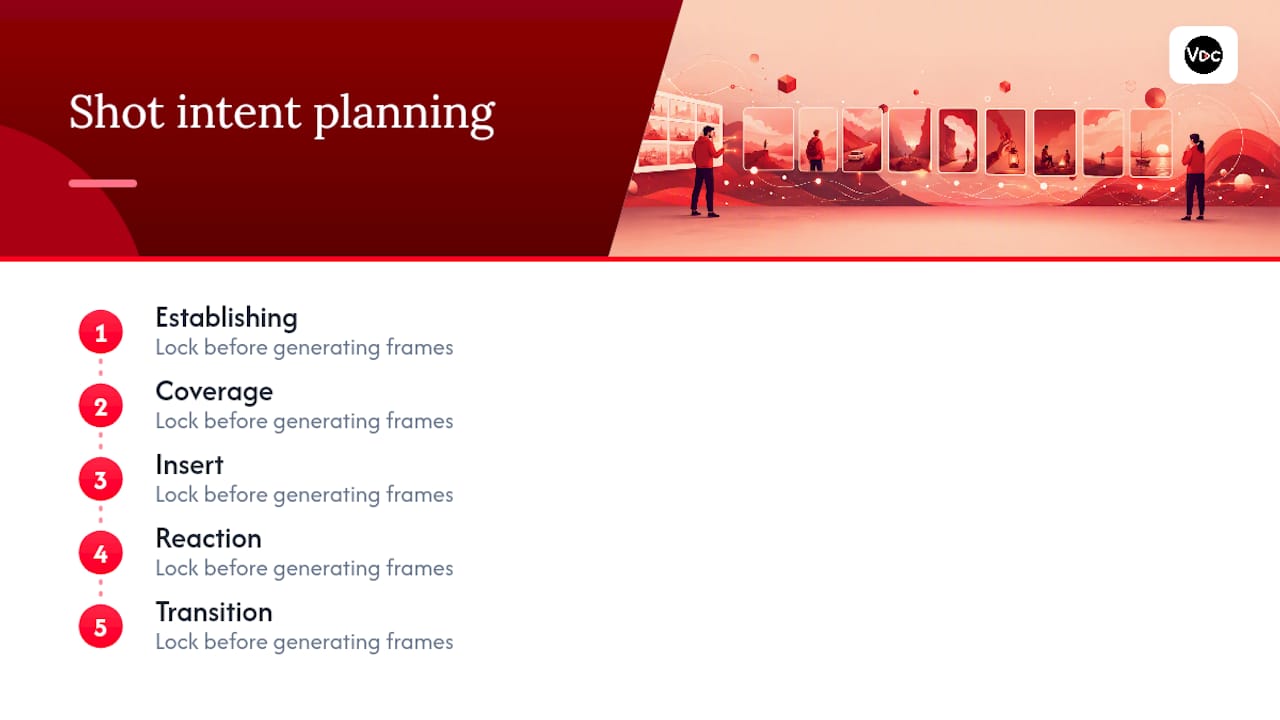
The most common failure isn’t a bad drawing. It’s skipping the coverage decision and jumping straight to image generation, which produces a stack of good-looking panels that don’t actually form a shootable sequence. Fix this by locking shot intents (establishing, coverage, insert, reaction, transition) for every beat before a single frame gets generated.
A second frequent problem is inconsistent labeling. Scene and shot numbers drift the moment a script gets revised, and suddenly panel 14 refers to a scene that no longer exists. Treat scene and shot IDs as fixed reference points, separate from the images themselves, so a script rewrite doesn’t force a full renumbering.
Continuity errors sneak in too, especially eyelines and screen direction, when panels get created out of order or by different people. A character looking left in one panel and right in the next, with no motivated cut between them, confuses an editor before it ever confuses an audience.
Timing mismatches are the fourth trap. A panel might look complete but carry no real estimate of how long the beat runs, which leaves editors guessing when they build the animatic. Reference stills and stand-ins can solve the art problem for non-drawers, but they can’t solve a missing timing note. That has to be written into the panel itself, every time.
Why AI-Assisted Boards Still Need a Human Editor
The honest case for AI in this workflow isn’t that it replaces judgment. It’s that it removes the bottleneck of staring at a blank page trying to imagine ten versions of the same shot. Some AI tools build scene generation, script tools, and voiceover generators around that gap for faceless YouTube creators, where speed between script and screen determines how many videos actually ship in a month. An integrated path from script to visual frames to voiceover cuts down the back-and-forth that normally eats a weekend, while keeping a channel’s visual identity consistent release after release.
*— Arnas
Try Voclify’s Scene Studio for Your Next Script
If you’re converting scripts to storyboards by hand right now, sketching thumbnails or hunting for stock frames one at a time, Voclify’s scene-studio tool exists to cut that step down to minutes instead of hours. It’s built specifically for faceless creators who need panels, not portfolio pieces: import your script, generate the first batch of frames, and move straight into pairing them with a synced voiceover track for an animatic.
A practical first task: drop in one script, generate the first ten panels, then export a shot list and a rough animatic before you commit to a shoot day. That single test tells you whether the tool fits your workflow faster than any feature list can. Voclify’s plans, including the Starter tier, are listed on the main site, and creators who want structured onboarding alongside the tools can look at the Faceless Operator Program for more guided support.
Sources
- How to make a storyboard – Free templates | Adobe
- Storyboard Generator Free | Create Storyboards from Script
FAQ
Can ChatGPT Generate Storyboards?
ChatGPT can help write shot descriptions and beat breakdowns from a script, but it doesn’t generate visual panels on its own. Pairing it with an image-generating tool, or a script-linked platform built for visuals, is what actually produces usable storyboard frames.
What Are the Steps of Storyboarding?
The core sequence is: lock the script, break it into scenes and beats, decide coverage for each beat, generate rough panels, annotate every panel with camera and timing notes, review for continuity, then export a shot list and animatic. StudioBinder’s production workflow and Adobe’s storyboard guidance both follow this same basic structure.
What Comes First, the Storyboard or the Script?
The script comes first. A storyboard maps written scenes and beats onto visual panels, so there needs to be a locked script before anyone decides on shots, camera angles, or timing.
Can AI Create Storyboards?
Yes. Tools like Adobe Firefly and platforms such as Voclify’s scene-studio can generate storyboard visuals directly from text prompts or script beats, which speeds up ideation significantly. Every generated board still needs a director or editor to check shot logic and continuity before it’s treated as final.
Do I Need to Know How to Draw to Storyboard a Script?
No. Rough panels, stick figures, or pulled reference stills communicate shot composition just as well as polished art for production purposes. What matters is that each panel clearly conveys the action, camera angle, and timing, not how it looks artistically.
Recommended

Get more of this in your Google results
Add voclify.io as a preferred source and Google shows you more of our articles in Search and AI Mode.