Use YouTube’s Test & Compare with three genuinely different thumbnails and title variants, then judge the winner by watch time share instead of clicks alone. That’s the whole strategy in one line. Build variant A as your current baseline, variant B as one controlled change, variant C as a real creative swing, upload all three at the same resolution, and let the test run until YouTube declares a winner. Your only immediate job right now is prepping those three assets before you touch the upload button.
TL;DR:
- Testing three distinct thumbnail variants—including a baseline, a controlled deviation, and a creative swing—helps identify the most effective visual hook based on watch time share.
- Variants must be designed with a clear hypothesis, changing only one element at a time to obtain meaningful, actionable results.
- Export all thumbnails at 1280x720 pixels, keep the resolution identical, and verify device display quality before uploading to ensure valid test data.
- Watch time share is the key metric, as exaggerated thumbnails may drive clicks but reduce retention, leading to a lower overall performance score.
- Rerunning tests on higher-traffic videos and applying successful patterns consistently across new and existing videos maximizes long-term channel growth.
How Do You Run YouTube Thumbnail Testing With Test & Compare?
Open YouTube Studio, go to Content, select the video, and click into the A/B testing panel. From there you choose whether to test title only, thumbnail only, or both together as a combined test.
- Upload up to three variants per test. YouTube caps it there, and the A/B testing feature won’t accept a fourth.
- Leave the video alone once the test starts. Editing the title or thumbnail manually mid-test kills the experiment and voids your data.
- Let it run. Tests typically need some days or up to a couple of weeks depending on how many impressions the video earns; low-traffic videos take longer to reach a readable result.
- Wait for one of three outcomes: a clear winner, a “performed about the same” result, or “inconclusive” because the sample was too small.
- Check YouTube Analytics afterward for watch time share by variant, plus the underlying CTR and average view duration for each version.
The biggest first-run mistake is impatience. Ending a test early because one thumbnail is “obviously winning” on day two often reverses once the algorithm settles impressions across all three variants evenly.
Designing Your Three Variants: Baseline, Deviation, and Risk
Random variety doesn’t produce useful data. You want three thumbnails that each test a specific idea, not three thumbnails that just look different for the sake of it.
- Variant A, the baseline: your existing channel style. Same font, same crop logic, same color treatment you’d normally publish.
- Variant B, the controlled deviation: change exactly one thing. Swap the facial expression, cut the on-image text from six words to three, or shift the color grade from cool to warm.
- Variant C, the creative risk: a genuinely different hook. Different emotion, different composition, maybe a completely different focal object.
That spread creates a hypothesis spectrum instead of three shots in the dark. If B beats A, you’ve learned something narrow and repeatable. If C beats both, you’ve learned your audience responds to a different emotional register entirely, which is a much bigger insight.
Isolate the variable inside each comparison. If you change the crop and the text and the color all in variant B, a win tells you nothing about which change mattered. Experienced testers stick to one clear lever per test cycle: facial expression, text volume, color contrast, or subject placement, not all four at once.
Pro Tip: Keep a simple spreadsheet logging what changed in each variant. Six months from now, “Variant B, changed text from 6 words to 3, won by 4 points” is far more useful than trying to remember which thumbnail was which.
Pre-Test Checklist: Resolution, Formats, and Device Checks
A mismatched export can quietly wreck your test before it starts. If one variant renders sharper than the other two, you’re measuring image quality, not the creative idea you meant to test.
- Export every variant at 1280x720 pixels minimum, 16:9 aspect ratio, under 2MB, as JPG, GIF, or PNG.
- Keep resolution identical across all three variants. A sharper file on a 4K TV screen can skew results toward the crisper image rather than the better idea.
- Confirm your channel has custom thumbnail access enabled through phone verification. Unverified channels can’t upload custom thumbnails at all.
- Shrink each design to roughly 120 to 160 pixels wide on your own screen. If you can’t read the text or identify the subject at that size, most mobile viewers won’t either.
- If a meaningful share of your audience watches on TV, preview at full size on an actual television or a large monitor before uploading.
Five minutes of checking beats a two-week test invalidated by a rendering mismatch nobody noticed until the data came back strange.
Reading Results: Why Watch Time Share Beats Raw Clicks
YouTube picks the winner by watch time share, not click-through rate. That single design choice changes how you should think about every thumbnail you make.
A thumbnail can pull a high CTR and still lose the test. Overpromising art, exaggerated thumbnails, or misleading text can spike clicks in the first hour and then collapse retention once viewers realize the video doesn’t deliver what the image promised. YouTube’s own metric catches that mismatch because it weighs how long people actually stayed, not just whether they tapped.
- High CTR, low retention: usually a sign the thumbnail overpromised. That variant will often lose watch time share even with more raw clicks.
- Moderate CTR, strong retention: this is the pattern that tends to win, because the viewers who click are the right viewers.
- “Performed about the same”: the differences you tested weren’t strong enough to move behavior. Try a bigger creative swing next round.
- “Inconclusive”: not enough impressions yet. Rerun on a higher-traffic video or wait longer before drawing conclusions.
A test that isolates one variable and runs long enough to gather a real sample tends to produce readable, repeatable signal instead of noise you can’t act on.
Once you have a winner, don’t stop at that one video. Apply the winning pattern to older videos covering similar topics. Creators who treat back-catalog refreshes as part of the testing loop pick up incremental views on content they already made, with zero new production required.
Tools and Workflows for Building Test-Ready Variants Fast
Producing three distinct, well-designed thumbnails for every upload is the part that burns time, especially for faceless creators who don’t have a face to photograph and lean entirely on graphics, text, and composition to carry the click.
Preview tools solve a narrow but real problem: they show you how a thumbnail and title will actually look inside a YouTube feed, on a phone screen, or next to a competing video, before you commit to an upload. That matters because a thumbnail that looks great full size on your monitor can turn into an unreadable smear at search-results size.
AI-assisted generation solves a different problem. It gives you three creative directions fast instead of one, using the same brand template so your channel still looks consistent even when you’re testing a big visual swing. That consistency matters more for channels without a recognizable host, since the thumbnail style is often the only visual thread tying videos together.
A workable production loop looks like this:
- Generate three directions using an AI thumbnail generator built around your existing channel style.
- Resize all three to the exact same resolution and aspect ratio.
- Run each through a quick mobile shrink test and a TV check if your audience watches on the big screen.
- Upload the finished set into Test & Compare and let it run.
Pro Tip: If you manage more than one channel or publish several times a week, standardize your font, color palette, and layout grid first. A stable template makes every future test comparable, because you’re only ever changing one creative idea at a time instead of reinventing the whole look.
Common Mistakes That Wreck a Thumbnail Test
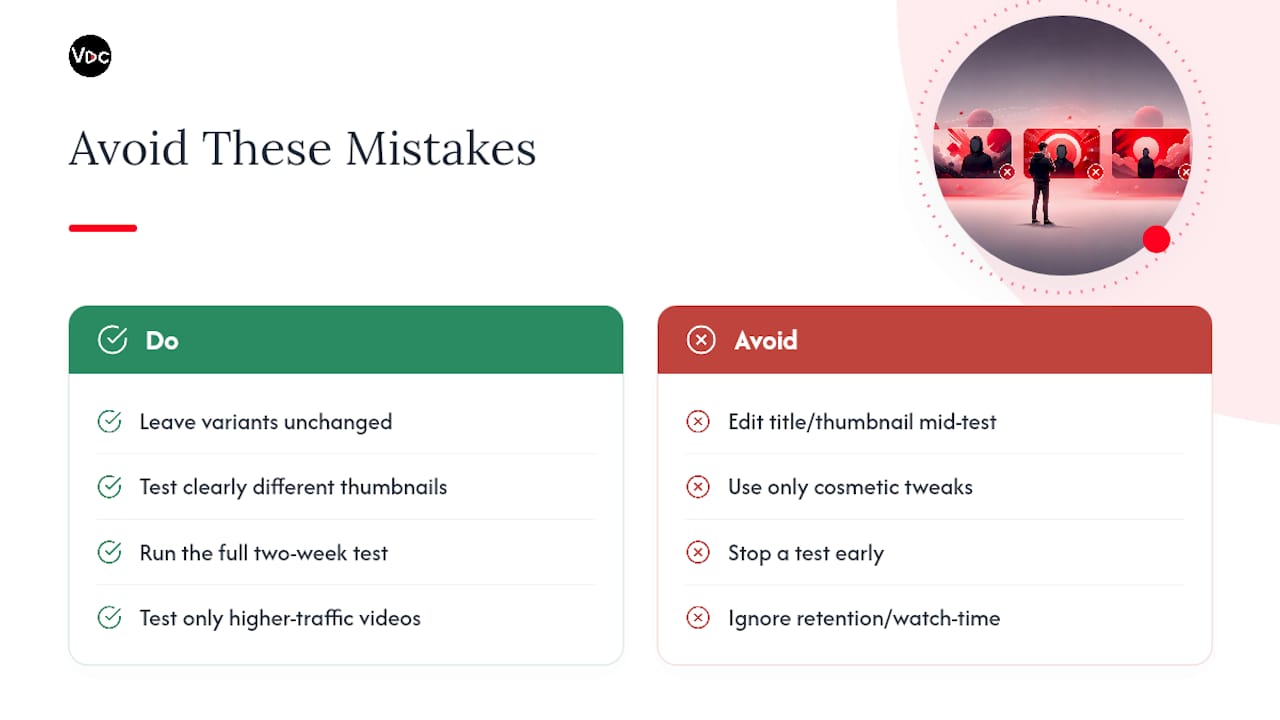
The most expensive mistake is changing something mid-test. Swapping in a “better” thumbnail on day four because the current one seems slow feels productive, but it invalidates the entire run. YouTube stops the experiment the moment you manually edit the title or thumbnail, and any data collected up to that point becomes unusable.
The second most common error is testing three variants that are barely different. If A, B, and C all use the same photo with a slightly different filter, you’re not testing three ideas, you’re testing one idea with cosmetic noise. Weak differentiation produces “performed about the same” results almost every time, which teaches you nothing and burns two weeks you could have spent on a sharper comparison.
Ending a test too early is close behind. Early leads swing constantly as YouTube samples impressions across variants, and a thumbnail that looks like it’s losing on day two can pull ahead by day ten once the sample stabilizes.
Ignoring retention is a subtler trap. A creator chasing CTR alone might declare victory on the variant that clicked best, without checking whether those viewers actually stayed. Since watch time share decides the official winner, a high-CTR loser can still be the one YouTube favors in distribution.
Finally, testing low-traffic videos wastes the feature’s real value. A video that gets 200 impressions a day will take far longer to reach a readable sample than one getting 5,000. Save your testing bandwidth for videos with enough reach to produce a real answer inside a couple of weeks.
Making Sense of Statistical Significance in Thumbnail Tests
YouTube doesn’t publish a raw p-value alongside your test results, but the platform’s “winner,” “performed about the same,” and “inconclusive” labels are its own built-in significance check. A “winner” means the gap in watch time share was large enough, across enough impressions, that YouTube’s system is confident it wasn’t random noise. “Inconclusive” means the sample size never got big enough to tell.
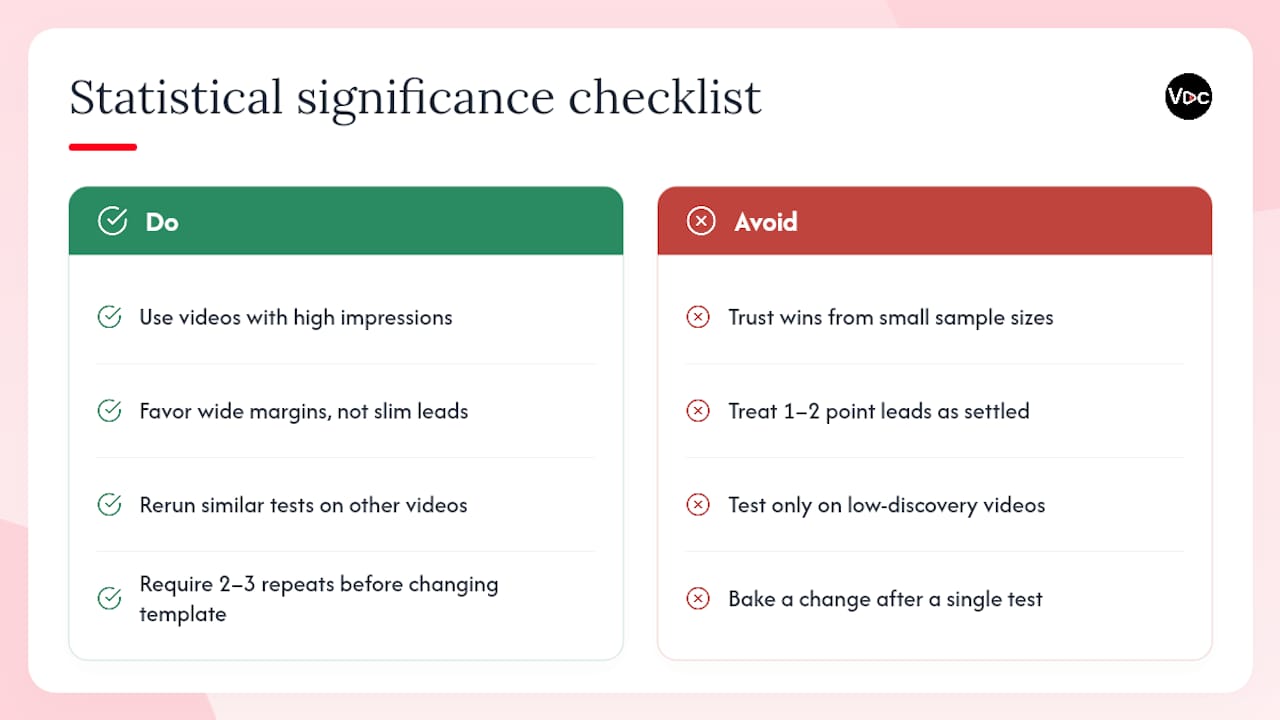
Small channels feel this most acutely. A video with a few hundred impressions during the test window simply doesn’t generate enough data points to separate a real effect from statistical wobble. That’s why a test on your most-watched upload of the month will resolve faster and more reliably than the same test on a video nobody’s finding yet.
Treat a narrow win with some skepticism. A variant that beats another by a point or two in watch time share, on a modest sample, is a weaker signal than a variant that wins by a wide margin on a video with tens of thousands of impressions. When the margin is thin, consider it a soft lean rather than a settled fact, and look for that pattern to repeat across two or three more tests before you bake it permanently into your channel’s template.
Rerunning a similar test on a second video is the cheapest way to confirm a finding. If the same creative idea, warmer color grading, bigger facial expression, shorter headline text, wins again on a different upload, you’re looking at a real pattern rather than a one-off fluke.
Turning Test Results Into a Full Optimization Strategy
A thumbnail win in isolation is a small gain. The bigger payoff comes from feeding that result back into how you plan every future upload, not just the one video you tested.
Start by treating your winning variant as a new default, not a one-time trick. If shorter text or a warmer color grade won clearly, build that into your channel template so every new thumbnail starts from the improved baseline instead of your old habits.
Next, connect thumbnail results to your title strategy. A combined title and thumbnail test tells you whether the winning image needed a specific phrase to land, or whether it worked regardless of wording. Pair a strong thumbnail pattern with a matching title approach using a dedicated title tool, since packaging works as a unit, not as two separate decisions.
Then widen the lens to retention data beyond the thumbnail itself. If a winning thumbnail still shows a steep audience drop-off in the first thirty seconds, the packaging did its job and the script or pacing is the next thing to fix.
Finally, schedule recurring tests rather than treating this as a one-time project. Monthly reviews of your top-performing and worst-performing recent uploads, run back through Test & Compare with a fresh variant, keep your channel’s packaging improving instead of plateauing after one good result.
What Creators Should Prioritize by Channel Size
Smaller channels should lock a legible, consistent template first, then test one variable at a time on the videos that matter most. Growing channels get more value from a testing schedule, running Test & Compare regularly and refreshing evergreen back-catalog videos with winning patterns. Teams and agencies managing multiple channels need shared naming conventions and template rules so results stay comparable across editors and across channels.
— Arnas
Generate and Manage Your Test Variants With Voclify
Voclify gets you from zero to three test-ready variants faster than building each one from scratch in a design tool. The AI thumbnail generator produces multiple creative directions from your channel’s existing style, so you get a real baseline, a controlled deviation, and a creative-risk option without starting each design from a blank canvas.
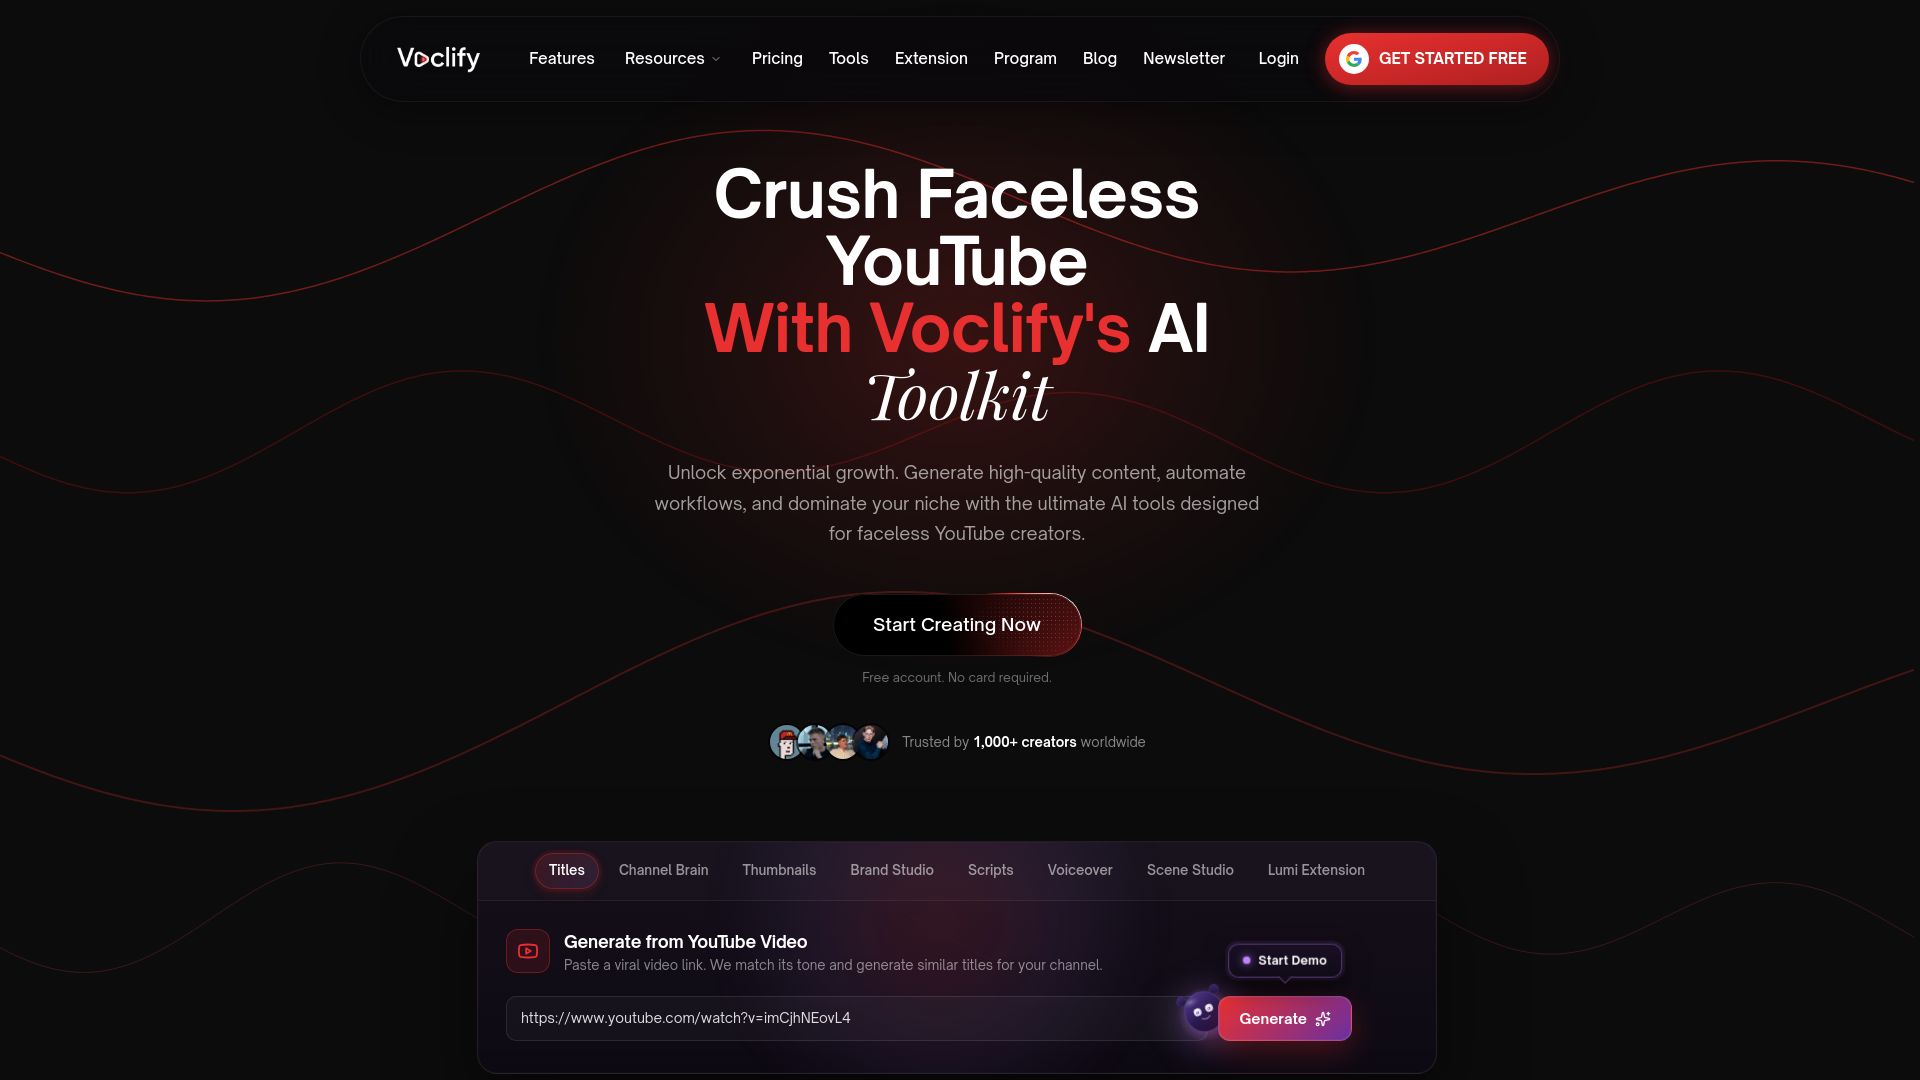
Voclify’s toolkit also includes a thumbnail text generator for scroll-stopping headline phrases and a title tool for pairing combined title and thumbnail tests, both built specifically for faceless creators who rely on graphics and text rather than an on-camera presence to carry the click. Channels using similar AI tools have collectively grown significantly by keeping their packaging consistent while still testing new creative ideas every week, a tactic explained in detail in YouTube Music Promotion Strategies for Independent Artists.
A simple starter flow: generate three thumbnail directions in Voclify, resize them to match resolution, run your mobile and TV legibility checks, then upload the set straight into YouTube’s Test & Compare. Try the thumbnail generator on your next upload and see how it holds up against your current template.
Sources
- A/B test titles and thumbnails - YouTube Help
- YouTube Studio’s New AI Tools: My Thumbnail Optimization Workflow | Hooksnap
- Alan Spicer — YouTube thumbnail guide (2026)
FAQ
Is Thumbnail Testing Worth It?
Yes. A disciplined testing routine that isolates one variable per cycle and reads results correctly typically produces measurable CTR and retention gains over time, and those small per-video gains compound as they scale across impressions.
How Many Thumbnails Can You Test on YouTube?
YouTube’s Test & Compare feature supports up to three thumbnail and title variants per test, whether you’re testing thumbnails alone, titles alone, or both together.
What Is the 8 Minute Rule on YouTube?
This isn’t a documented YouTube policy tied to thumbnail testing. If you’ve seen it referenced elsewhere, it likely relates to unrelated monetization or ad-placement guidance rather than the Test & Compare feature covered here.
How Do I Check My Thumbnail Test Results?
Open YouTube Studio, go to the video’s Analytics tab, and look for the A/B testing results panel showing the winner, watch time share by variant, and the underlying CTR and view duration numbers for each version.
Should I Test CTR or Watch Time?
Prioritize watch time share, since that’s the metric YouTube itself uses to declare a winner. A thumbnail that wins on clicks but loses on retention is usually overpromising, and the platform’s own scoring will reflect that.
Recommended

Get more of this in your Google results
Add voclify.io as a preferred source and Google shows you more of our articles in Search and AI Mode.